Outlook Web Access

Outlook Web Access (OWA) allows you to access your UF Exchange mailbox remotely when you are not using a workstation specifically setup to access your mailbox using Microsoft Outlook or other software. You can access your emails through your browsers such as Firefox, Chrome, Internet Explorer, or Safari on your home computer or mobile device.

TUTORIAL RESOURCES

Log into Outlook Web Access (or Outlook Web App)

Go to http://mail.ufl.edu, then click on Login to Outlook Web Access or Outlook Web Access.  Sign on to Outlook Web App using your GatorLink username and password.

Navigation

Once you sign into Outlook Web App (or Outlook Web Access), you will see the navigation on the top tool bar where you can navigate over to Mail, Calendar, People, or Tasks. 

Navigation buttons for Open Web Access

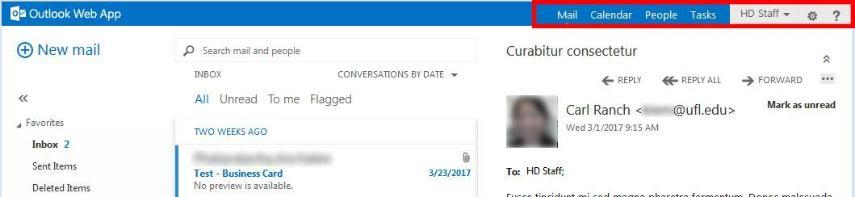
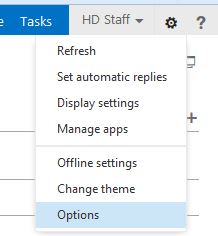
The mail pane is showed by default.  If you click on the small triangle by your name, it will show your email address.  This is also where you can upload or change your profile picture.  The gear icon on the far right give you access to Options where you can see your mailbox usage.

Mail options tab

Open an item in a separate window

By default, your items in Outlook Web App are shown in the reading pane on the right. If you would like to open them in a separate window, click on More actions represented by ... (3 dots) in the upper right corner of the email, then select Open in a separate window.  You can also double click the email itself as long as it is the original email and not reply of another email.
More actions button

Mail

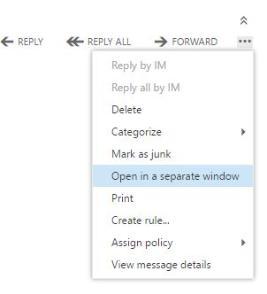
When you log into Outlook Web App, Inbox is the default screen. For a quick look at Outlook Web App, please visit Mail in Outlook on the web.

Create an email message
  1. Once you log in, click on New mail New mail button on the top left of the screen.
  2. Under To:, Cc:, or Bcc: enter the recipients' email addresses or names.  If you have multiple recipients, separate each person with a semicolon.  You can also search for email addresses by clicking on To:, Cc:, or Bcc:.
    Note: If you do not see Bcc:, you might need to turn it on.  Within your email message click on More actions (represented by ... (3 dots) in the upper right corner), then select Show Bcc

    Show Bcc button


    To turn on Bcc: for all future messages, go to the Options tab (within the gear icon on the top right.  Click on Options > Settings > under message format check Always show Bcc > click SAVE.
  3. In the Subject box, enter the subject of the message.
  4. Once finish composing your email, click SEND (or keyboard shortcut Ctrl+Enter).
Add an attachment to an email message
  1. To attach a file or files, on the composing email screen click INSERT > Attachments. 

    Insert attachments tab
  2. Locate the file(s) you would like to attach from your computer or laptop. Click Open.  You then will see the file with a preview button in your message.
  3. If you select Pictures inline, this limits the file type to only .png, .gif, .bmp, .dib, .jpg, .jpe, .jfif, and .jpeg.  Once you select an image, it will appear in the composing email area.  
Open an email message

Select the email you would like to open.  Once you click to select, the email preview will show on the Reading Pane on the right.  If you double click the email, it will be displayed in a separate window (as long as it is the original email and not reply of another email).

Reply to and forward an email message

Open the email you would like to reply or forward.  If you click on the email once, you can select Reply, Reply All or Forward at the top of the email preview on the Reading Pane.

Reply button

Create a signature to your email message
  1. Click on the gear icon on the top right, then select Options.  
  2. Select settings
  3. Make sure the mail tab is selected at the top (this should be by default).  You can now enter your signature.
  4. If you would like to display your signature at the bottom of every email you send, make sure to check 'Automatically include my signature on messages I send.'
  5. Click SAVE.

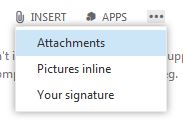
Note: The signature length is limited to 8000 characters in Outlook Web Access.

Calendar

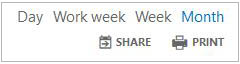
You can access Calendars by clicking on Calendar from the top right navigation.  You can select Day, Work Week, Week, or Month view.

Calendar tab

  1. Create a new event by clicking New event New event button.  An event can be an appointment, a meeting, or an all-day event.
  2. In this example we show the monthly view.  You can use this monthly view on the left to navigate between dates.  The light shade shows you the current month.  The darker shade marks the current date.

    Shading navigation for calendar

  3. OTHER CALENDARS allows you to view other calendar or more than one calendar at a time.  You can select the appropriate calendar in your list (if any).  You can also add other people’s calendars by right clicking OTHER CALENDARS, then select Add public folder to Favorites.  All displayed calendars will be shown on one screen differentiating by different colors.
  4. To navigate between months, select the month you would like to view.  If you click on the arrows on either end, it will navigate you to the months in the previous or following year.

    Monthly view for Calendar

  5. You can select the view you want, share, or print your calendar.

    Button for Calendar Select View, Share, and Print

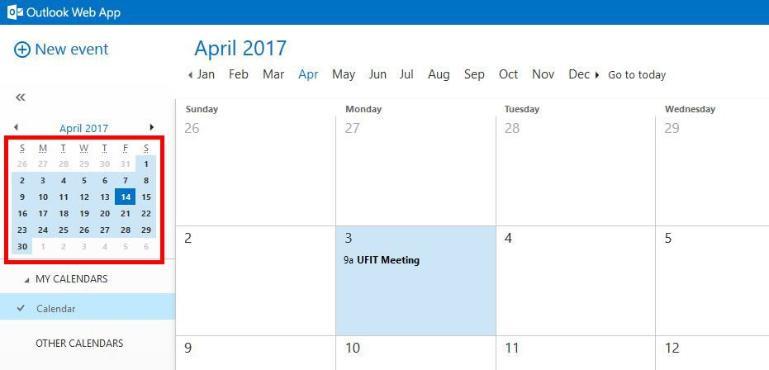
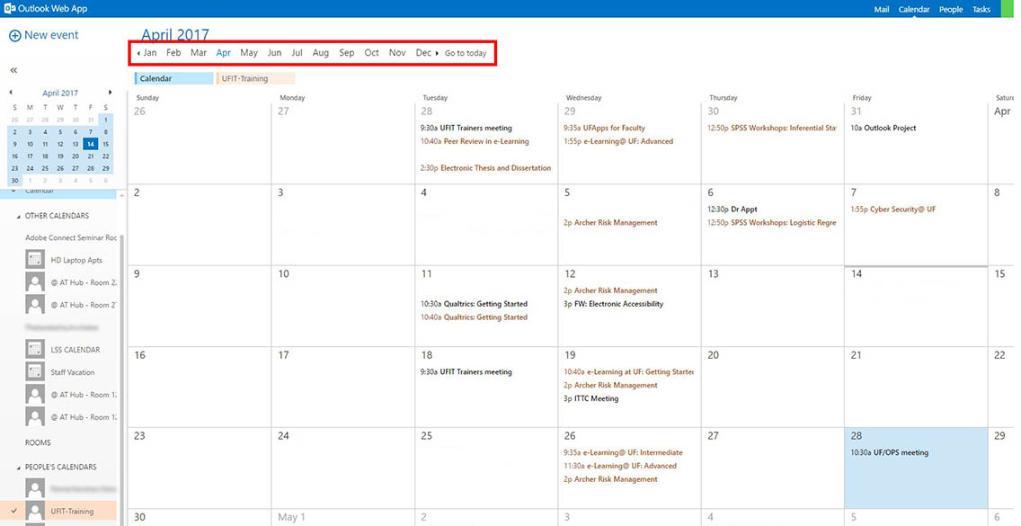
For more information on calendars in Outlook Web App, please visit Calendar in Outlook on the web.

People

You can access People by clicking on People from the top right navigation.  Here you can find, create, and edit your contacts.  The tool also allows you to search for contacts within your organization.

People tab

  1. To create a new contact, click +New on the top left.  
  2. Select Create contact to add an individual contact and fill in the information.
  3. If you work within an organization, you can enter a person's name in Search people to look up an individual.  Search people button

    Once the person is found, click on Add to contacts to add. 

    Search and add contacts screen

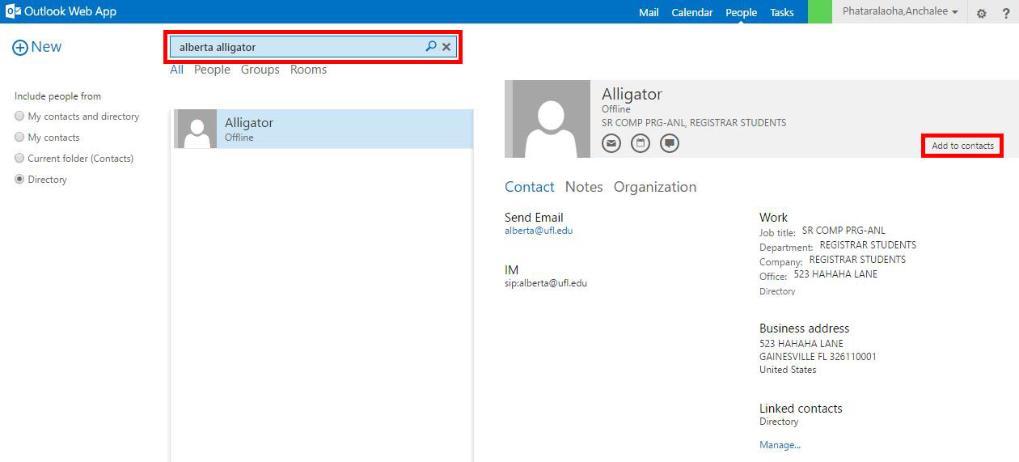
For more information on Contacts in Outlook Web App, please visit People Overview.

Tasks

Tasks helps you keep track of your to-do list. 

  1. To create a new task, click +New task on the top left.
  2. By default Flagged items and tasks are shown.  You can switch to Tasks to view just tasks.
  3. You can select the type of tasks you want to see, namely All, Active, Overdue, or CompletedAll view displays Tasks and flagged with no date associated and that are not completed.
  4. You can edit a task (only if you created that task) by opening it, then clicking on EDIT.  Click on Show more details to enter more information if needed.  Once in the Show more details screen the button will change to Show fewer details. Click on SAVE once completed.

    Edit Task screen


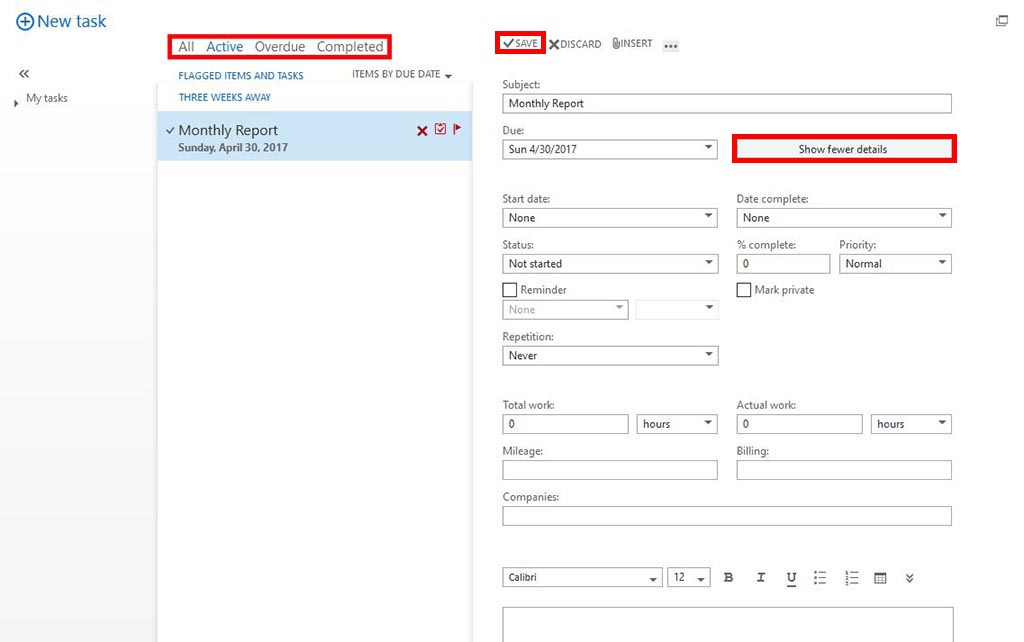
For more information on Tasks in Outlook Web App, please visit Tasks Overview.

Working Offline

Offline access allows you use to use Outlook Web App on your device without connecting to the Internet. For information on setting up offline access, please visit Using Outlook Web App offline.

Retention Periods

Please keep in mind UF has the following policy regarding email retention.

Inbox - 3 years (1095 days)
Sent Items - 3 years (1095 days)
Deleted Items - 30 days
Junk E-mail - 14 days

This means Exchange will purge any items in these folders (including those in the child folder under these folders) beyond the specified number of days.  If you wish to retain your mails longer, you need to place them in a folder outside these folders.

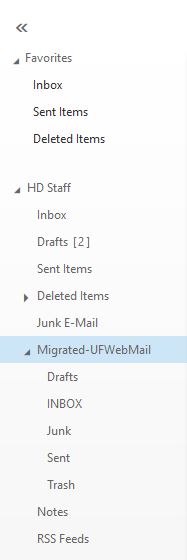
All mails moved during migration will be moved to a folder named 'Migrated-UFWebMail'.  This folder is outside Inbox and is, therefore, not affected by the retention policy.  However, if recently migrated users move migrated mail out of the 'Migrated-UFWebMail' folder into one of the folders that have a retention policy, the policy will apply and purge the mail after the specified number of days.

Migrated-UFWebmail button

Related Training

Outlook Exchange


Who's it for?

Faculty, Staff

Format

Tutorial

View Events