GatorMail
UF GatorMail is an email and collaboration service for UF. All UF users have calendar access as well as directory, improved spam control, to do lists, reminders, and support for a wide variety of mobile devices. UF GatorMail uses your @ufl.edu email address.
Learn how to work with the most popular features of Outlook through tutorials or in a hands-on class setting.
Getting Started
https://www.mail.ufl.edu/managing-email/connecting-to-email/
Additional Tutorial Resources
Navigation
By default Outlook shows the Inbox with the so-called Ribbon at the top. Home tab is the default tab. Each tab shows different options underneath depending on the function of individual tabs. Each option are grouped together. You can show or hide the Ribbon using the keyboard shortcut Ctrl+F1.

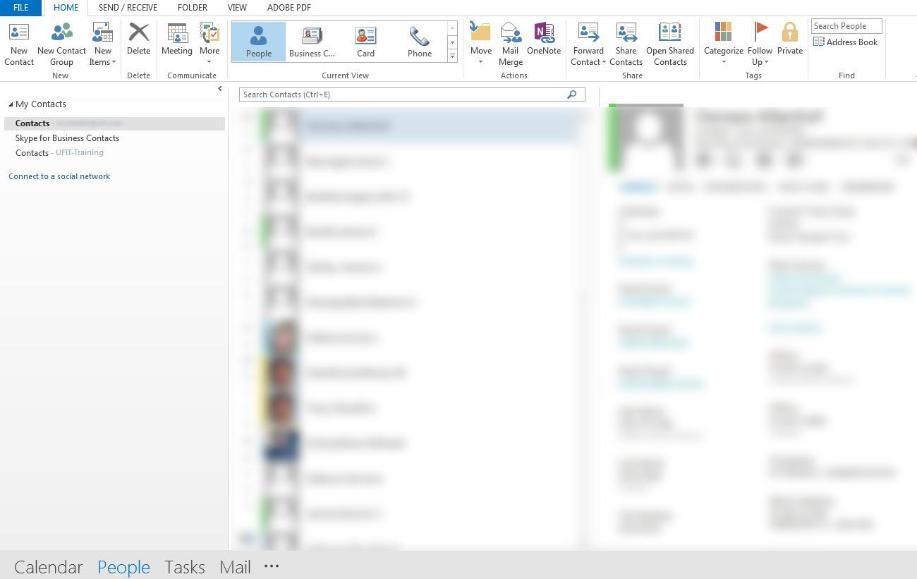
At the bottom of the Outlook screen there are options for Calendar, People, Tasks, Mail (default), and others (representing by three dots). You can access Calendar, People (or Contacts), or Tasks here.

Create an email message
- On the Home tab, in the New group, click New E-Mail on the top ribbon (or keyboard shortcut Ctrl+N).
- Under To:, Cc:, or Bcc: enter the recipients' email addresses or names. If you have multiple recipients, separate each person with a semicolon. You can also search for email addresses by clicking on To:, Cc:, or Bcc:. (If you do not see Bcc:, you might need to turn it on. Under the Options tab, in the Show Fields group, click Bcc. This will enable Bcc: for your future emails as well.)
- In the Subject box, enter the subject of the message.
- Once finish composing your email, click Send (or keyboard shortcut Ctrl+Enter).
For video tutorial, please visit Email Basics.
Add an attachment to an email message
- To attach a file or files, on the composing email screen in the Include group, click Attach File. Browse, then select the file(s) you would like to attach, then click Insert.
- To attach Outlook items such as email messages, tasks, contacts, or items on Calendar, on the composing email screen, in the Include group, click Attach Item.
- Select Business Card to attach a contact. To select multiple contacts, hold Ctrl key while clicking on each contact.
- Select Calendar to attach a calendar item. Enter the date range and details, then click OK.
- Select Outlook Item to add items such as an email message, tasks. Under Items, select the item, then click OK.
Open an email message
Select the email you would like to open. Once you click to select, the email preview will show on the Reading Pane on the right. If you double click the email, it will be displayed in a separate window.
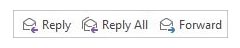
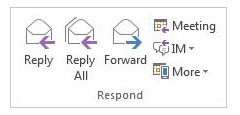
Reply to and Forward an email message
Open the email you would like to reply or forward. If you click on the email once, you can select Reply, Reply All or Forward at the top of the email preview on the Reading Pane.
If you double click on the email, you can access the same options now under the Respond group.
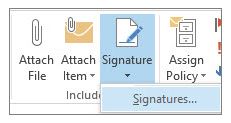
Create a signature to your email messages
Please note: The signature you create here is not carried over to Outlook Web Access.
- Create an email message.
- Under Message tab in the Include group, click on Signature > Signatures.
- In the Signatures and Stationery window, click on New and give it a name. Under Choose default signature, you can choose to have the signature appear in new messages and replies or forward messages.
- Under Edit Signature, type in your contact info or any information you would like to include, then click OK.
For video tutorial, please visit Create an email signature in Outlook. (please scroll to the bottom of the page)
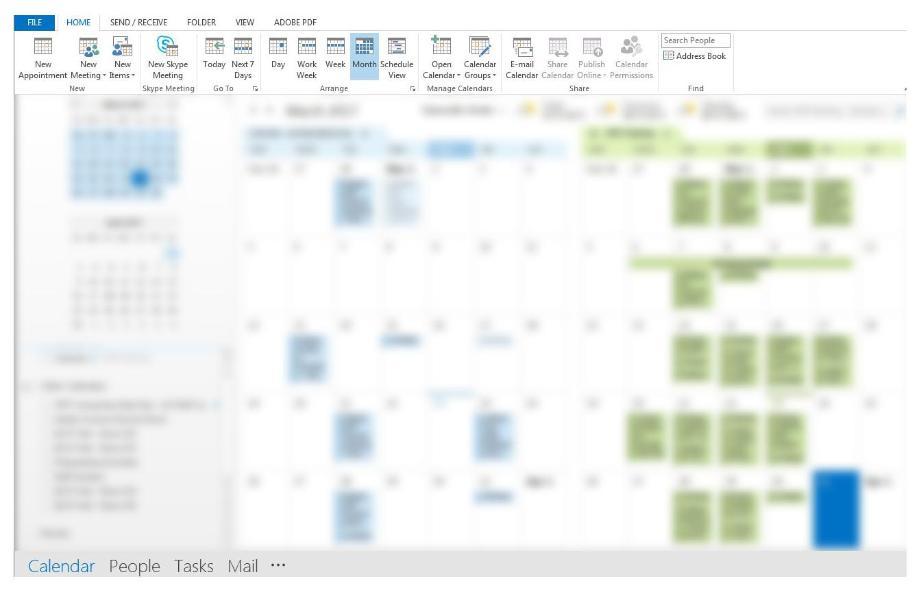
Using Calendars and Creating Appointments & Meetings
You can access Calendars by clicking on Calendar on the bottom left of Outlook. Once in Calendar under the Home tab in the Arrange group, you can view calendars by Day, Work Week, Week, Month or Schedule View.
Creating an Appointment
- Within Calendar click on New Appointment, which is an event you add into the calendar for your own use (unless you invite others which turns it into a meeting).
- Fill in the Subject, Location, Start and End time. Under the Appointment tab within the Option group you can set Reminder. The default is 15 minutes before the appointment.
Creating a Meeting
- Within Calendar click on New Meeting, fill in the To box to invite others, Subject, Location, and Start and End Time.
- If you select Scheduling Assistant from the top ribbon, then type in the name of your invite, Outlook will show their availability for no-conflict scheduling. Once you click Send, the invitee will receive an email to accept, decline, or indicate tentative for the meeting. You will receive an email confirmation once they reply.
- You have the option to set Reminder the same way as when you create an appointment.
Managing contacts
Contacts is like an address book where you add people or organization you regularly communicate with.
Create a New contact
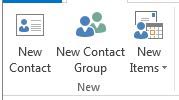
- You can access Contacts by clicking on People on the bottom left of Outlook. Once in People under the Home tab in the New group, click on New Contact (or keyboard shortcut Ctrl+Shift+M).
- Enter the name and any information you would like to add. You can also add the contact picture or image by clicking on the Add Contact Picture thumbnail. Once done, click on Save & Close. If you would like to add another contact without closing, click on Save & New. You can also add another contact from the same company or address by selecting Save & New > from the down arrow click on Contact from the Same Company.
If you would like to add more than one entry in a field, such as multiple email addresses or phone numbers, click the down arrow next to that field.
Create a contact from an email message
Open or preview the email. Right click the name in the To:, From:, or CC: line, then select Add to Outlook Contacts, then Save.
Create a contact from an Electronic Business Card
When you receive an Electronic Business Card in an email, you can save that business card by right-clicking on the business card or the attached .vcf file in the message header itself, then select Add to Contacts. On the Contact tab in the Actions group, click Save & Close.
For more ways to use Contacts, please visit the Add and Use Contacts video tutorial.
Staying organized
How to create folders outside of the inbox to keep mails longer
- Launch Outlook desktop and right-click your GatorLink address at the top of the folder tree.
- Click New Folder and then type a name for the folder. For example, enter "Family" (without quotation marks) to make a folder where you can store emails from relatives. Click OK.
- Click the File tab at the top and select Manage Rules & Alerts.
- Click the E-mail Rules tab if it is not already selected and then click New Rule.
- Click Apply rule on messages I receive under Start from a blank rule, then click Next.
- Click the check box next to "from people or public group" and then click the "from people or public group" link in Step 2.
- Double-click the names of the people whose messages you want to divert to the folder you created earlier and then click OK.
- Click Next and then click the check box next to "move it to the specified folder."
- Click the "specified" link in Step 2 and then select the folder that you created earlier.
- Click OK and then click Finish.
- Click Apply and then click OK to apply the new rule. All emails from the selected people are automatically diverted to the folders you specified.
For video tutorial on how to create Outlook folders, please visit File your stuff in folders.
How to use rules to manage emails
For instructions on how to use rules to manage UF emails, download this tutorial How to Use Rules to Manage Emails (in pdf).
For more information on using rules in Outlook, please visit Manage email messages by using rules.
From time to time you might receive an email informing you receive a spam email and it has been quarantined. For more information regarding this topic, please visit https://www.mail.ufl.edu/managing-email/securing-gatormail/how-to-check-for-spam/
How to set auto replies
When you would like to set automatic replies, for example when you will be out of the office for an extended period of time, follow the steps below.
- Click the File tab. Select Automatic Replies.

- On the Inside My Organization tab, enter your message to let others know the period you will be out, your return date, and alternate contact(s).
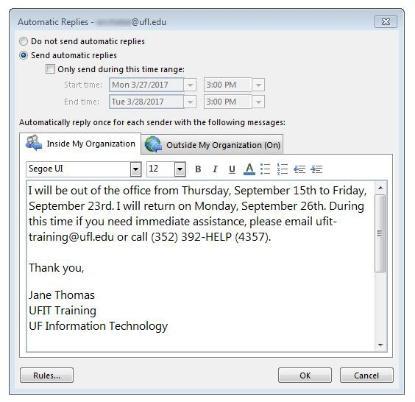
- Make sure to select Send automatic replies (at the top). This will allow you to choose the date range for your auto reply.
- Click OK.
Note: If you do not select the date range, when you return to the office, make sure to manually turn off the Automatic Replies.
For more information on this feature, please visit Send automatic out of office replies from Outlook.
Time Commitment
Classroom: 2 hours
Related Training
Outlook Web Access
Register
Who's it for?
Faculty, Staff
Format
Classroom event, Tutorial
View Events